
Published 20th Jul 2021
The Signmaker’s Guide to Applying Wall Graphics
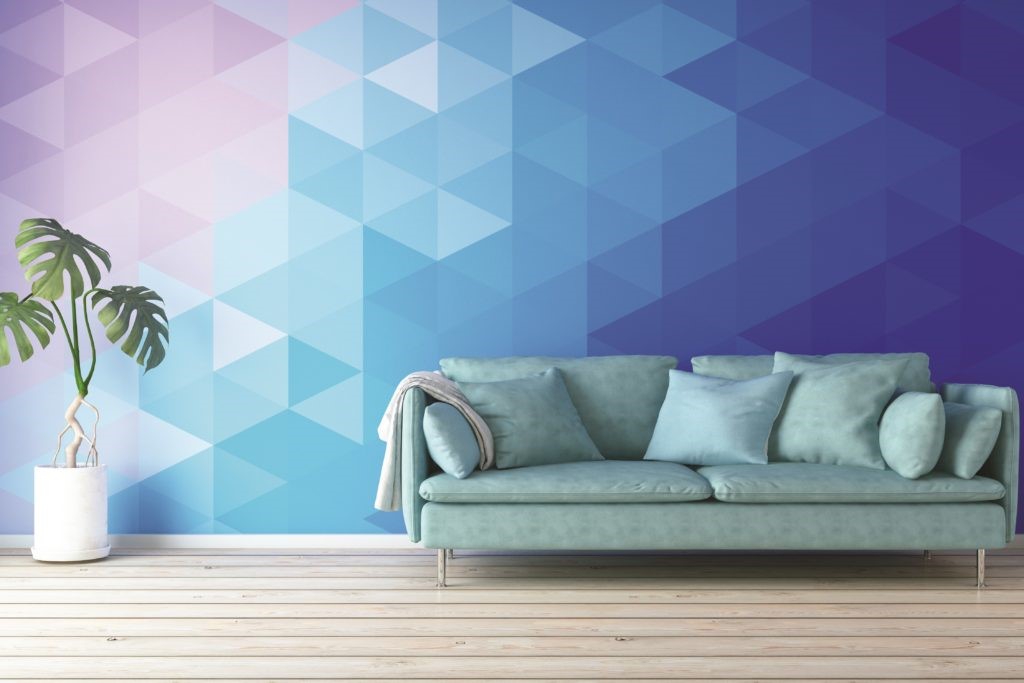


Applying wall graphics and wallcoverings can be a challenge for even the most experienced signmaker, unless they follow a few basic rules. We run through each stage of the process in this complete guide to applying wall graphics.
Wall Assessment
The wall surface should be smooth, preferably with a satin or gloss painted finish. Special care should be taken to understand what type of paint has been used on the wall(s) prior to installation. Certain additives in paints, low latex and/or VOC levels, can reduce the adhesive bond. Application to ‘easy care’ and ‘easy clean’ paints should be avoided.
If paint type cannot be identified, it is strongly recommended to trial a sample print on the wall prior to full installation of the graphics. 24 hours will usually give a good guide as to the bond that is likely to be achieved. If there is any doubt over the suitability of the surface, we would recommend applying a primer to the wall prior to installation.
Note that freshly painted walls can emit moisture for up to 5 days. Newly plastered walls can emit moisture for up to 4 weeks.
When working with repositionable and/or low tack adhesives, extra consideration must be given. These are not designed for coated, sealed, or treated stainless steel/ brass/bronze surfaces. Surfaces displaying signs of dust or powder residue from the pigment of the paint, will inevitably contaminate the adhesive, and reduce the overall bond. In general, when using media with repositionable/removable adhesive properties, priming the wall is strongly recommended.
The wall temperature should not be less than +4°C. Ideally the temperature would be above 10°C.
Avoid application to wall surfaces with brick or heavily textured finishes – unless using a media that is approved for these types of surfaces, such as the General Formulations’ RoughMark vinyl.
We would always recommend applying a test print first.
Priming the Walls
Priming/sealing the wall will reduce contamination to the adhesive when installing and/or repositioning the graphic. It will give superior bond strength, and can help counter moisture in the walls. It can also help to mask imperfections on the surface of the wall.
It is recommended that a water-based eggshell or recognised wall primer is used. The specified primer drying times should be adhered to also.
Wall Graphic Printing & Artwork Considerations
Heavy deposits of under cured or uncured solvent or UV curable inks can affect the dimensional stability of the self-adhesive film in use. Retained solvents can reduce abrasion resistance of the ink and weaken adhesive strength. This can be particularly problematic where the application will require overlaps. Care should be taken to fully cure, dry and outgas all prints prior to packaging and/or application. Allow 24 hours as a guide, though ink rich images may take longer to outgas.
Using a take up roller immediately after printing, can result in the retention of solvents.
Polyester and PVC based materials will generally suffer an amount of shrinkage over time. Therefore we recommend allowing an overlap of 10mm in the prints. For textured surfaces/substrates, where the adhesive bond on the overlap could be affected, a slightly larger overlap may need to be considered. Polyester based materials generally suffer shrinkage at a slower rate, so for promotional applications, where a butt join is preferred, we recommend you splice the join, by building in an overlap in to the artwork/material, then running a blade through the two layers of overlap. Then just remove the excess material.
How to apply the wall graphic
For small decals, remove the liner and position the graphic on to the wall. Using your squeegee, start at the middle of the decal and work to the edges with firm pressure to avoid trapping air. Overlap all strokes keeping the edges from contact until firmly pressed with the squeegee. Make sure all edges and corners are firmly attached.
For large decals, lay decal face down on flat surface. Peel part of the liner away from the top of decal and fold down. Align the decal to its desired wall location and apply the top portion of the decal to the wall using your squeegee. Next, slowly remove the remaining liner by pulling down while pressing the decal to the wall. Work toward the edges with firm pressure to avoid trapping air. Overlap all strokes keeping the edges from contact until firmly pressed with the squeegee.
Make sure all edges and corners are firmly attached.
How to remove the wall graphic
To remove wall decals, gently peel from the top to the bottom at a 120 degree or greater angle, and use a smooth and consistent force.
No liability can be given for damage to painted surfaces even with removable adhesives, as often this can be down to the bond between the paint and the wall, which is outside of our control.
Latest blog posts
View all posts14th July 2026
Summer Signage Ideas for Print Businesses
Summer is one of the busiest, brightest seasons in any sign maker’s calendar. From pub gardens and food festivals to [...]

13th July 2026
FASTSIGNS Leicester North joins The Big Print Network
Newly launched Leicester franchise joins Innotech’s ambassador programme after an introduction at the FASTSIGNS [...]
6th July 2026
Imagink joins The Big Print Network
Print business joins Innotech’s ambassador programme after ten years as a customer Imagink has become the latest [...]